Candy Cane Kiss Brownie Bites
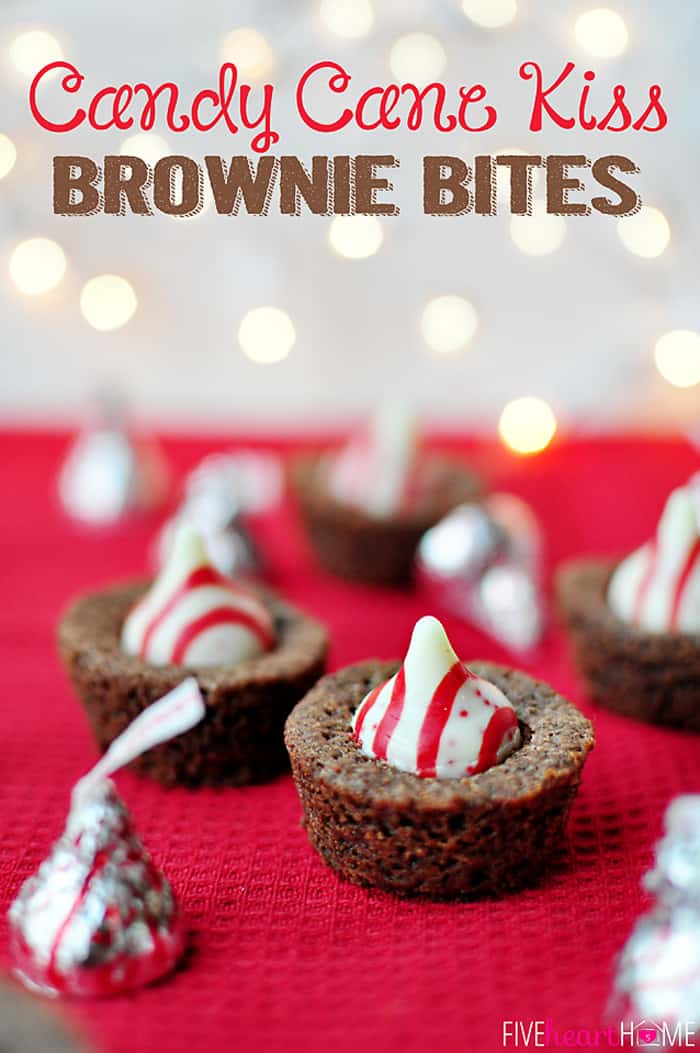
Candy Cane Kiss Brownie Bites feature a candy cane Hershey's Kiss atop a moist, fudgy brownie, making them a festive addition to your holiday cookie platter!
WANT TO SAVE THIS RECIPE?
For more candy cane holiday treats, you'll also love Chocolate Peppermint Baked Donuts and Crockpot Hot Chocolate!
Well, folks, we've reached December, and you know what that means...Christmas cookies galore! Whether it's baking them, giving them, receiving them, revisiting old recipes, or concocting new recipes, I love everything about Christmas cookies. Heck, who am I kidding? I love everything about cookies. But December gives me an excuse to make them and eat them with reckless abandon.
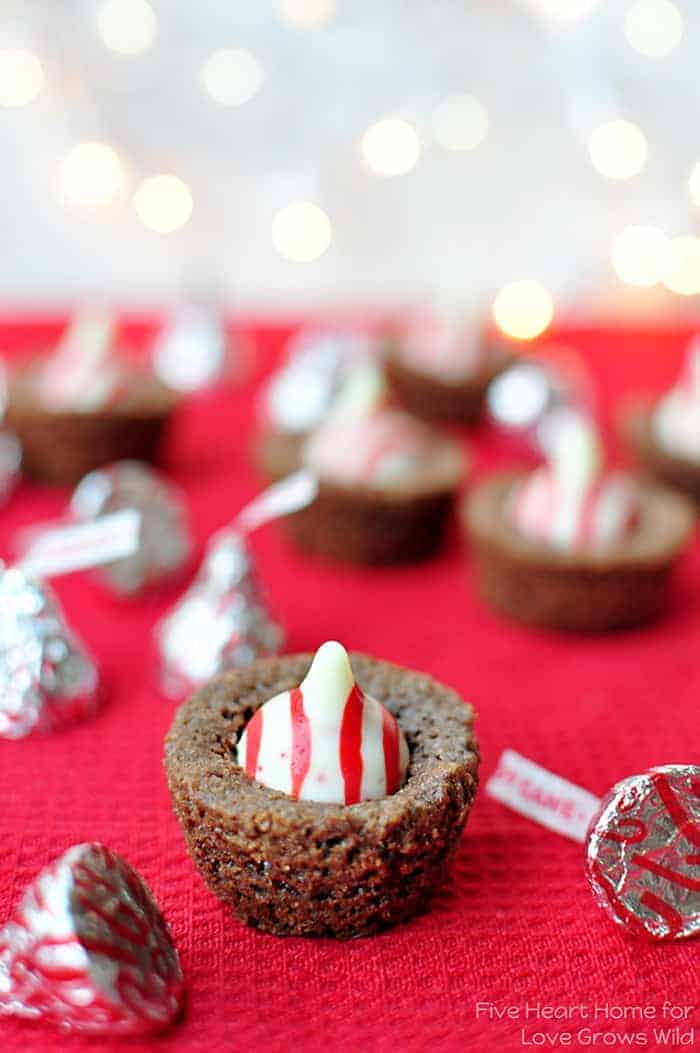
There are some cookie recipes that I just have to make every year around Christmastime. But I also enjoy adding some exciting new flavors to my holiday cookie platter each December, and that's how this recipe was born. There is so much cute holiday-themed candy available these days that I find myself getting inspired just walking down the aisles of the grocery store. After all, I like to incorporate candy into my sweet treats when at all possible. So when I saw these Candy Cane Kisses, I just knew I had to combine them with chocolate. Because, hello??? What goes better with peppermint than chocolate?

I hope that these Candy Cane Kiss Brownie Bites earn a special place on your holiday cookie platter this year! They're fun, they're festive, they're cool and minty and moist and chocolatey and delicious...and after this year, they're going to become a Christmas cookie tradition at our house. Enjoy, y'all!
More Christmas Treats
- Overnight Eggnog French Toast Casserole
- Shortbread Christmas Cookies
- Eggnog Cookies
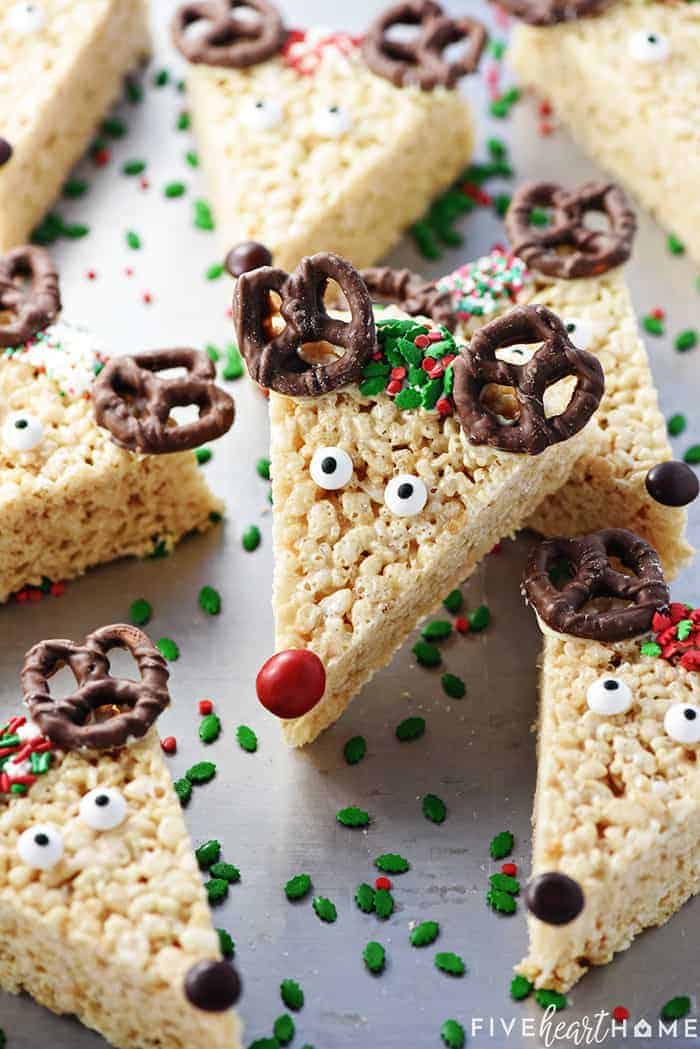
- Reindeer Rice Krispie Treats
- Soft + Chewy Ginger Cookies
- Eggnog Pudding
- Jam Thumbprint Cookies
- Christmas Puppy Chow (AKA, White Chocolate Peppermint Muddy Buddies)
- Christmas Tree Sheet Cake

Candy Cane Kiss Brownie Bites
Ingredients
- 1 cup all-purpose flour
- ½ teaspoon salt
- ½ teaspoon baking powder
- ¾ cup unsweetened cocoa powder
- 1 cup (2 sticks) unsalted butter
- 2 cups sugar
- 3 eggs
- 1 tablespoon pure vanilla extract
- 48 to 60 Hershey's Candy Cane Kisses, unwrapped & frozen
Instructions
- Preheat oven to 350°F. Line mini muffin pans with paper liners, or generously spray with nonstick cooking spray.
- In a large bowl, whisk together flour, salt, baking powder, and cocoa; set aside. In a large pot set over low heat, melt butter. Remove from heat and stir in the sugar. In a small bowl, whisk together the eggs and the vanilla. Temper the eggs (slowly bring up their temperature so that they don't scramble) by stirring a spoonful of the butter mixture into the eggs. Then use a wooden spoon to stir the egg mixture and flour mixture into the butter mixture until well incorporated.
- Scoop batter into lined mini muffin pans, filling each cup ⅔ full. Bake for 10 to 12 minutes or until just set, taking care not to overcook. After removing pans from the oven, immediately and gently press a Candy Cane Kiss onto the top of each brownie bite. Allow brownies to cool completely in pans set on a wire cooling rack until Kisses are completely hardened. Remove brownies from pans and store in an airtight container.
Notes
- Depending on the size of your mini muffin pans, you will probably get anywhere from 48 to 60 brownie bites. I got about 55.
- Using paper liners in your mini muffin pans is recommended. However, if not, use a thin knife to loosen each cooled brownie bite before attempting to remove it from the pan.
- Freezing the Kisses ahead of time will help them hold their shape as the brownie bites cool. Also be sure to have them unwrapped before your brownies come out of the oven, because you will have to work quickly getting them placed on your hot brownies!
- Feel free to change up the flavors of your Kisses...Mint Truffle, Cherry Cordial, and even Caramel would also be delicious! Just beware that some varieties of Kisses have softer centers than others, and you'll need to be very gentle working with those so that they don't collapse.
Nutrition
This recipe was originally shared as a contributor post over at Love Grows Wild.

